The dev environment is the setup where software developers write, test, and debug their code.
This environment is distinct from production (where the software is live and used by end-users) and typically includes the following components:
- - Code Editor or Integrated Development Environment (IDE): e.g. VS Code to write and edit code.
- - Local Server: Django has a built-in development server that allows developers to test their web application locally before deploying it to a production environment. This server is intended for development and testing purposes, not for production.
- Django's Development Server listens for HTTP requests on a specified address and port (default is 127.0.0.1:8000). 127.0.0.1 is a special reserved IP address meaning the computer you are currently on. Nobody else on your network or the internet can get to your machine by connecting to 127.0.0.1, because their machines intercept that and route it to their local machine.
- Port 8000 is Django's default port. Port 8000 (or the group of 8xxx ports) is usually free on any machine, no other program listens to it. You can specify a different port by passing a different number in the command "python3 manage.py runserver 127.0.0.1:port_number". Pick a port number that is not used by any other service; there are 65k of them.
- - Version Control System: e.g. Git to manage changes to the source code and maintain a history of these changes.
- - Testing Frameworks: Tools and libraries used to write and run tests, ensuring the software behaves as expected - e.g. pytest.
- - Dependencies and Package Managers: Systems that manage external libraries and dependencies, like npm for JavaScript, pip for Python, or Maven for Java.
- - Configuration and Environment Variables: such as database connections, API keys, or other configuration details.
The dev environment aims to replicate the production environment closely enough to ensure that software behaves as expected when deployed, while also providing developers with the tools and flexibility they need to efficiently write and test code.
Open your Ubuntu terminal. In the home directory, create a sub-dir called mysite (you can call it whatever you like). Later, we’ll create our Django project in this new directory.
mkdir mysite
ls -la

Change permissions from 775 to 750
chmod 750 mysite/

In mysite, create the virtual environment for your Django app.
A virtual environment ensures that your Django project has a dedicated, isolated environment with all the necessary dependencies managed effectively.
Before installing any python package via pip, run the following command:
sudo apt-get update && sudo apt-get upgrade
This command updates the package list and upgrades installed packages on your Ubuntu system to their latest version.
Install pip:
sudo apt install python3.12-venv
Now change directory to mysite and then create the virtual environment
cd mysite
python3 -m venv env
ls -la

Change permissions from 775 to 755
chmod 755 env/
Let’s activate the virtual env so that we can install all our dependencies.
To activate it from within the mysite directory, run this command:
source env/bin/activate

To activate it from any other directory:
source ~/mysite/env/bin/activate
To deactivate it:
deactivate

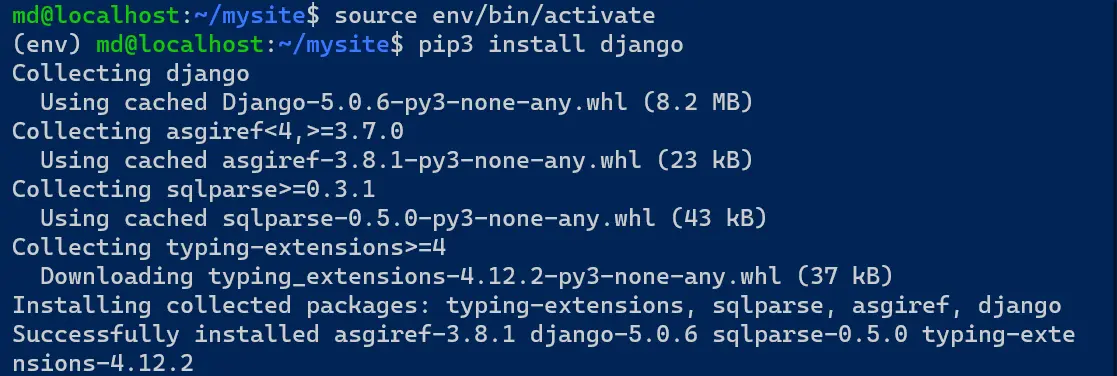
Let’s re-activate our virtual env and then install Django.
source env/bin/activate
pip3 install django

If a package installation is killed, try to purge the cache
pip3 cache purge
If this doesn’t work, install the package without looking up the file in the pip cache. We can use the --no-cache-dir flag
pip3 install PACKAGE_NAME --no-cache-dir
You can install your packages one by one or if you have a requirements.txt file that lists all your dependencies, you can do the installation in one go.
Suppose your requirements.txt file is saved in mysite (i.e. at the same level of the env dir)
pip3 install -r requirements.txt –no-cache-dir
or
pip3 install -r ~/mysite/requirements.txt –no-cache-dir
